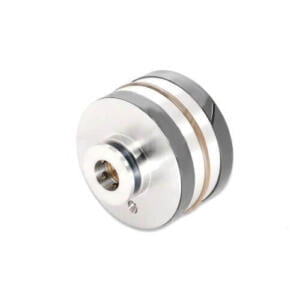
Descrição
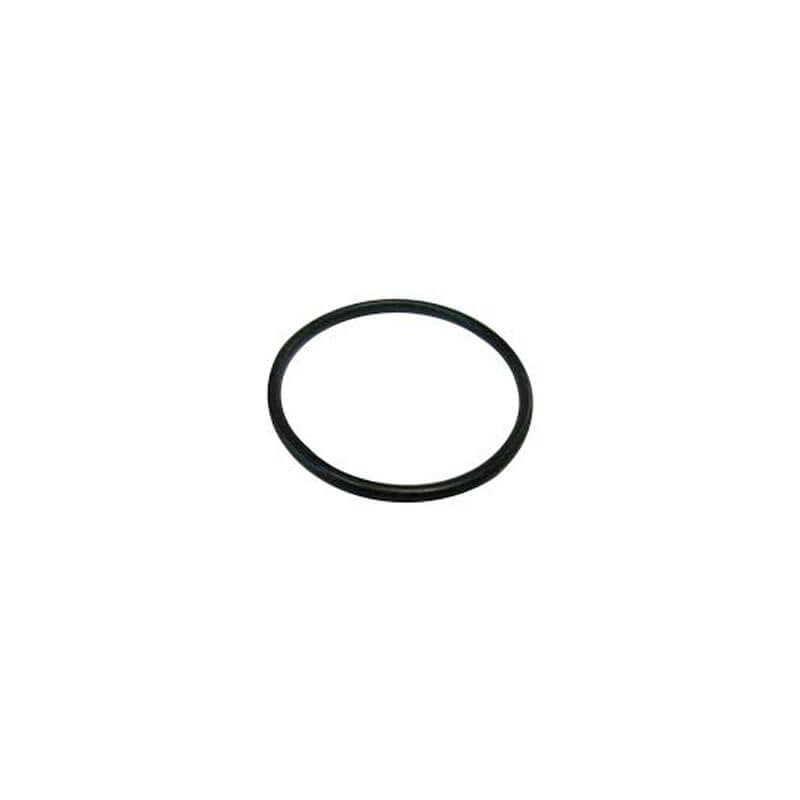
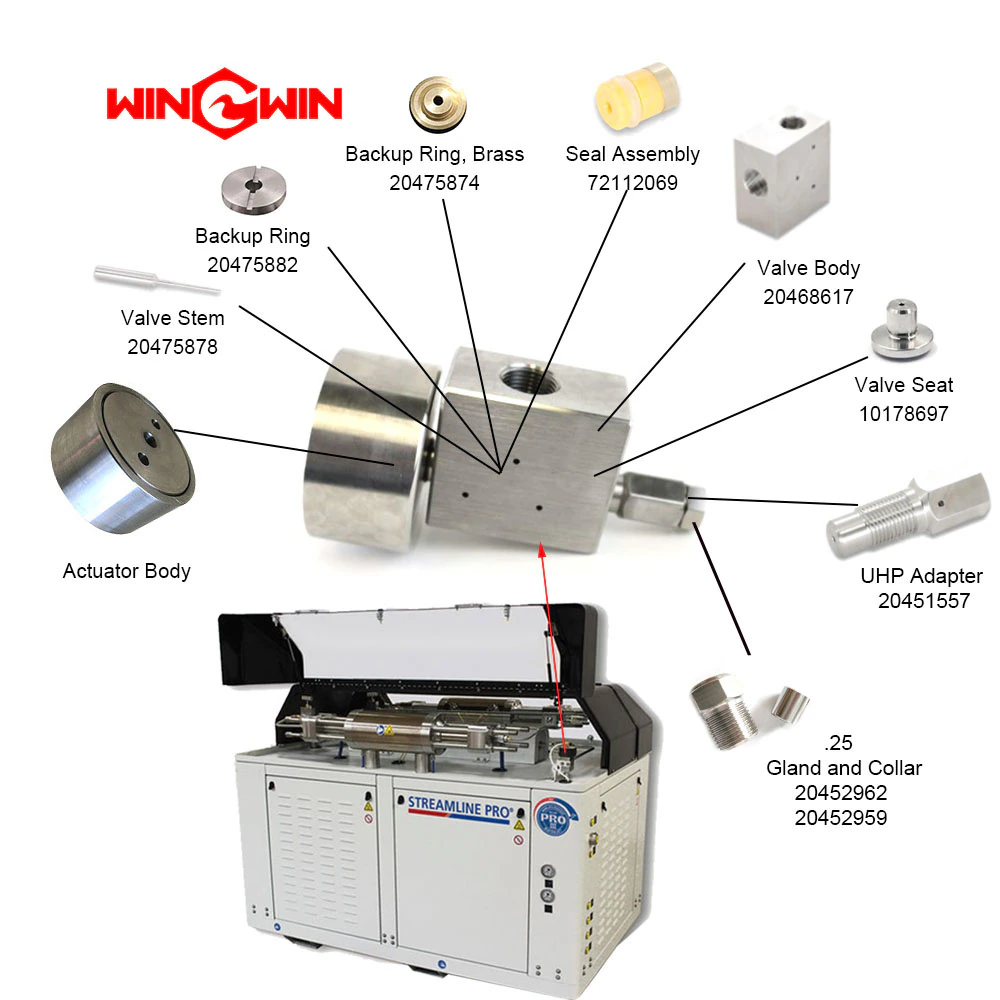
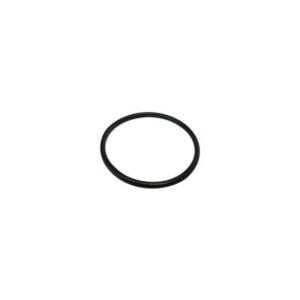
90000 psi Waterjet Pump Spare Parts: 05144191 O-Ring, .69 x .88 x .09
The O-Ring 05144191 is a specific size of O-Ring with a cross-sectional diameter of 0.09 inches, an inner diameter of 0.69 inches, and an outer diameter of 0.88 inches.
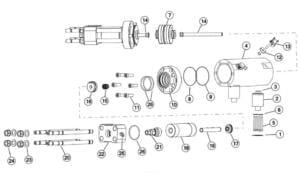
Item | Part Number | Descrição | Quantity | Item | Part Number | Descrição | Quantity |
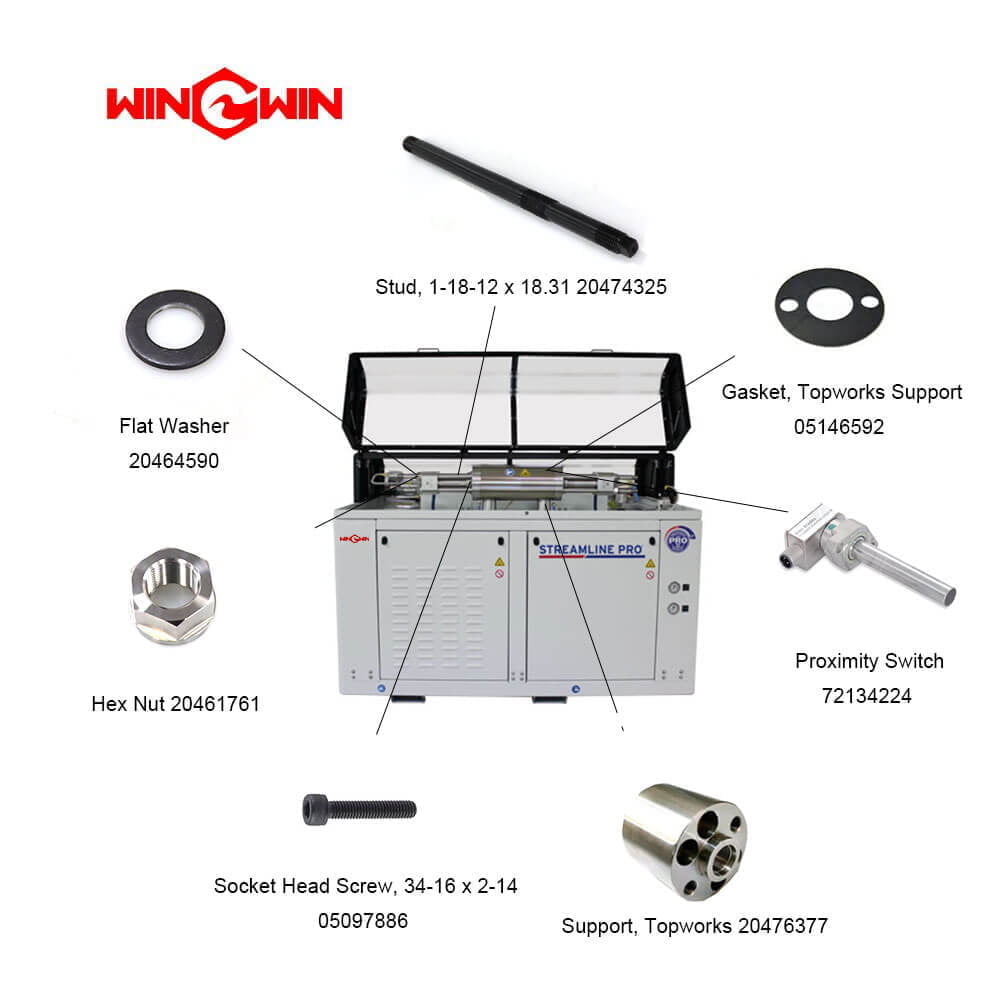
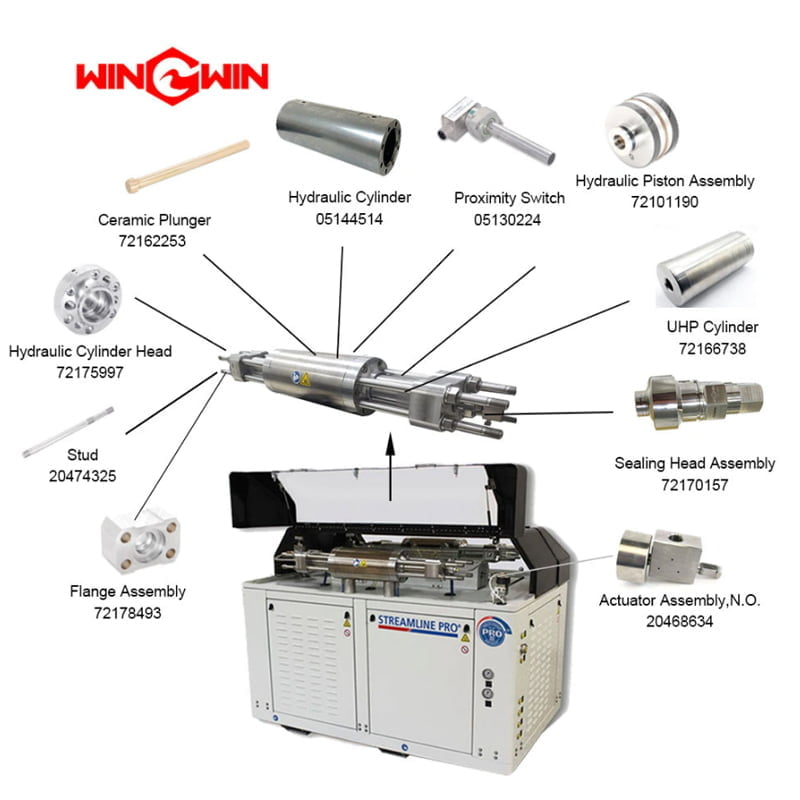
1 | 05146592 | Gasket, Topworks Support | 2 | 14 | 72162253 | Plunger | 2 |
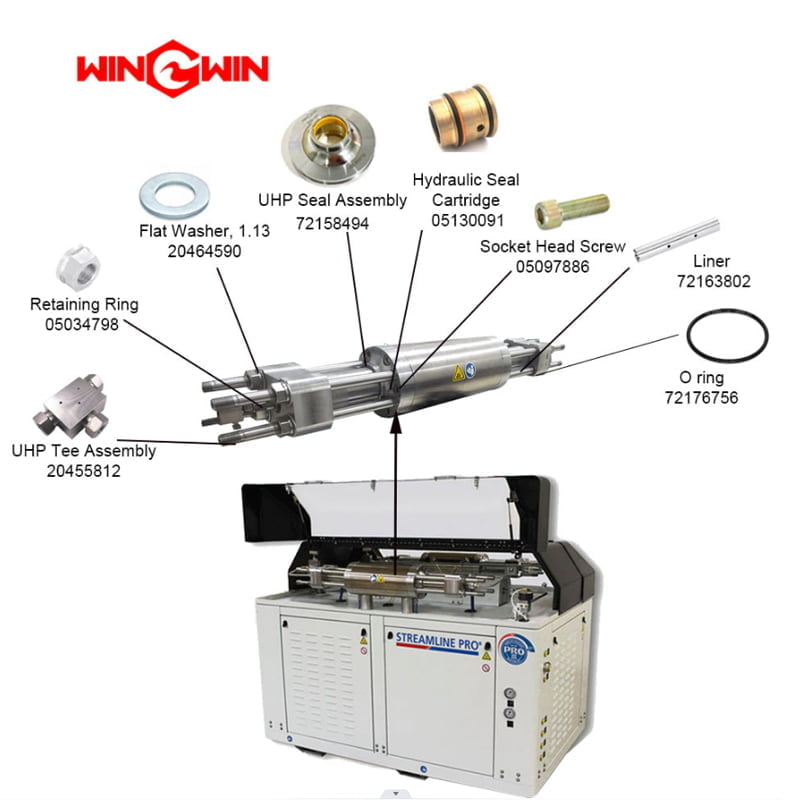
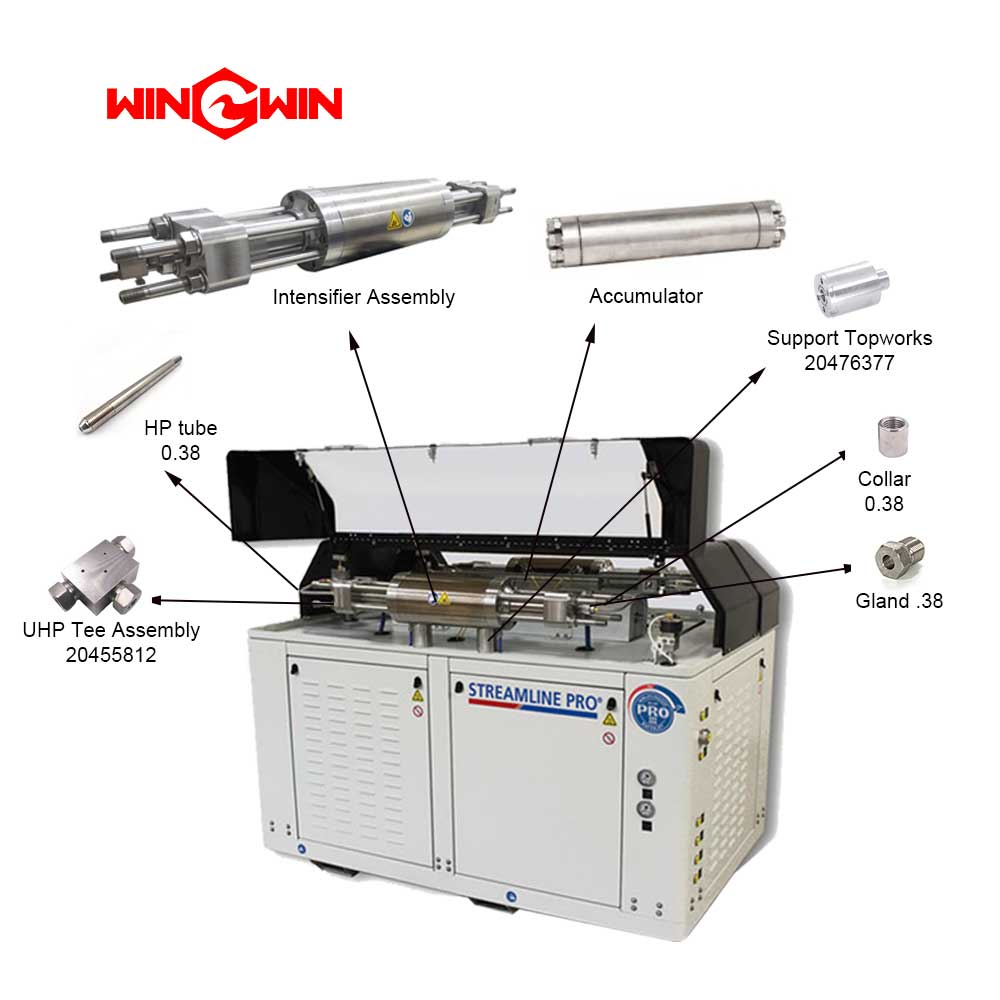
2 | 20476377 | Support, Topworks | 2 | 15 | 05130091 | Hydraulic Seal Cartridge | 2 |
3 | 10118206 | O-Ring, 1.31×1.56× .13 | 2 | 16 | 72175989 | Flange do Retentor de Buchas | 2 |
4 | 05144514 | Hydraulic Cylinder | 1 | 17 | 72158494 | UHP Seal Assembly | 2 |
5 | 05098991 | Socket Head Screw, 3/8-16×3-3/4 | 8 | 18 | 72166738 | UHP Cylinder | 2 |
6 | 95688743 | Lock Washer, .38 | 8 | 19 | 72163802 | Liner | 2 |
7 | 72101190 | Piston Assembly | 1 | 20 | 20474325 | Stud, 1-1/8-12×18.31 | 8 |
8 | 10074771 | O-Ring, 5.25×5.50× .13 | 2 | 21 | 72170157 | Sealing Head Assembly | 2 |
9 | 05120092 | Backup Ring, 5.25×5.50× .13 | 2 | 22 | 72178493 | Flange Assembly | 2 |
10 | 72175997 | Hydraulic Cylinder Head | 2 | 23 | 20464590 | Flat Washer, 1.13 | 8 |
11 | 05097886 | Socket Head Screw, 3/4-16×2-1/4 | 12 | 24 | 20461761 | Hex Nut, 1-1/8-12 | 8 |
12 | 05144183 | Spacer Assembly, Proximity Switch | 2 | 25 | 20489339 | Adapter, JIC/Pipe, 50× .38 | 1 |
05144191 | O-Ring, .69× .88× .09 | 26 | 72176756 | O-Ring, 3.88×4.25× .19 | 6 | ||
13 | 72141569 | Kit, Proximity Switch | 2 | ||||
| 72134224 | Interruptor de proximidade | ||||||
95119012 | Socket Head Screw, 1/4-20×1 |
Q: How can I conduct a pressure and leak test for the O-Ring applied to the 90000 psi pump?
A: Conducting a pressure and leak test is an important step in verifying the sealing performance of an O-ring in a specific application. Here are the steps to conduct a pressure and leak test:
1. Install the O-Ring
Install the O-Ring in the application according to the manufacturer’s instructions. Ensure that the O-Ring is seated properly and is not pinched or damaged.
2. Apply pressure
Apply pressure to the system gradually, starting at a low pressure and gradually increasing to the maximum operating pressure (90000 psi).
Monitor the pressure gauge and ensure that it stays within the recommended pressure range.
3. Monitor for leaks
Monitor the system for leaks while the pressure is applied. Look for any visible leaks from the O-Ring or the mating surfaces.
You can use a leak detector solution or an ultrasonic leak detector to detect leaks that may not be visible to the naked eye.
4. Check the pressure drop
After reaching the maximum operating pressure (90000 psi), hold the pressure for a specified duration.
Then, release the pressure and monitor the pressure gauge for any pressure drop. A pressure drop indicates that there may be a leak in the system.
5. Inspect the O-Ring
After completing the pressure and leak test, inspect the O-Ring for any signs of damage or wear.
If the O-Ring shows signs of damage or wear, it should be replaced before the system is put back into operation.
6. Repeat the test
If any leaks or pressure drops are detected, repeat thepressure and leak test after addressing the issue.
This may involve replacing the O-Ring, adjusting the mating surfaces, or making other changes to the system.
In summary, conducting a pressure and leak test involves applying pressure to the system and monitoring for leaks and pressure drops.
It is important to conduct this test after installing the O-Ring and before putting the system back into operation to ensure that the O-Ring is sealing properly and that the system is safe and reliable.
If you have any questions about purchasing or repairing 90000 psi waterjet intensifier pumps and related parts, please fale conosco.

